
DIY projects cater to all skill levels, from simple crafts to advanced builds. Whether you’re a beginner looking for easy wins or an expert seeking a challenge, there’s a project for everyone. These creative DIY tutorials will inspire you to enhance your home while having fun along the way.
Beginner Project: DIY Floating Shelves
Floating shelves are an easy and stylish way to add storage and display space in any room.
Steps:
- Gather Supplies: You’ll need wooden planks, L-brackets, screws, a drill, and a level.
- Measure and Mark: Decide on the placement of the shelves and mark the spots on the wall.
- Install Brackets: Secure the L-brackets to the wall using a drill, ensuring they’re level.
- Attach Shelves: Place the wooden planks on the brackets and secure them with screws.
- Decorate: Style the shelves with books, plants, or decorative items.
This simple project is perfect for beginners and can be completed in just a few hours.
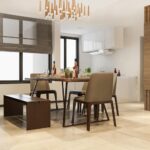
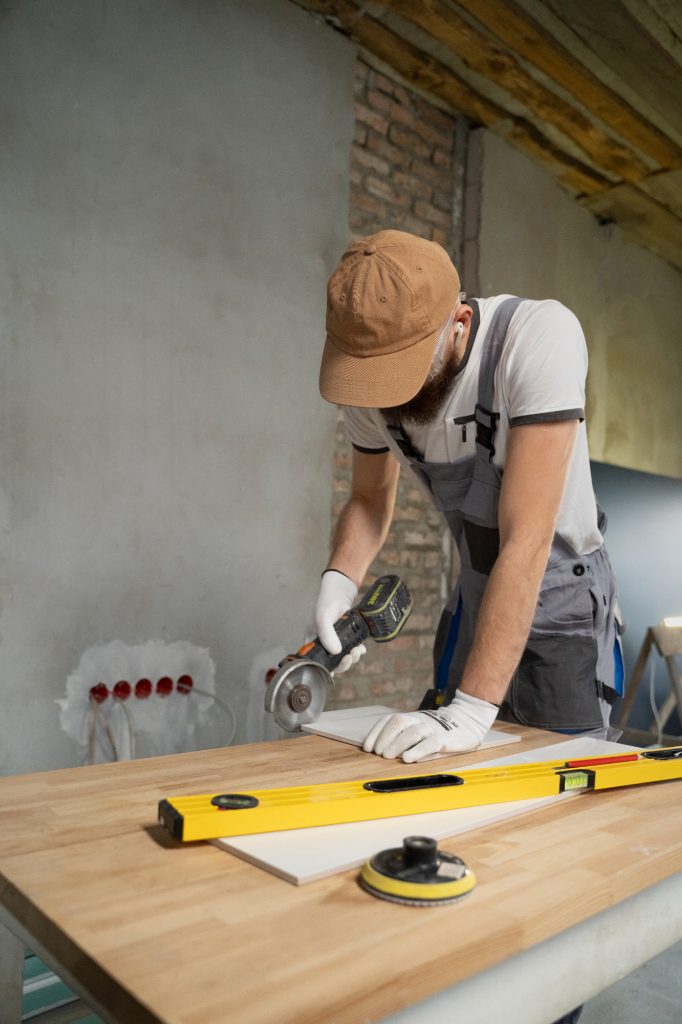
Intermediate Project: Build a Coffee Table
A DIY coffee table adds a personal touch to your living room while showcasing your woodworking skills.
Steps:
- Gather Materials: You’ll need wood planks, screws, a saw, wood glue, sandpaper, and wood stain.
- Design Your Table: Decide on the size and style of the table, such as a farmhouse or modern design.
- Cut and Assemble: Cut the wood to size and assemble the table frame and top using screws and glue.
- Sand and Finish: Smooth the surfaces and edges, then stain or paint the table.
- Add Final Touches: Attach legs or additional features like a lower shelf for storage.
This project is ideal for those with moderate DIY experience and creates a stunning, functional centerpiece.
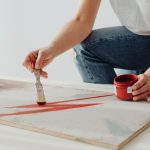
Expert Project: Accent Wall with Wood Paneling
Wood paneling adds texture and sophistication to any room, making it an advanced but rewarding project.
Steps:
- Plan the Design: Choose a paneling pattern, such as shiplap or geometric designs.
- Prepare the Wall: Clean and smooth the wall surface. Measure and mark the panel placement.
- Cut and Attach Panels: Use a saw to cut the wood panels and attach them to the wall with adhesive or nails.
- Fill and Paint: Fill gaps or seams with wood filler, then sand and paint for a polished finish.
- Seal and Admire: Apply a sealant for durability and enjoy your newly transformed space.
This project requires precision and patience but delivers a high-end, professional look.